

Appearance
Timeline
The Timeline is where you decide when things happen. After this page you can play and scrub the show, add channels and clips, move and resize clips, and select several at once.

The Timeline shows the channels of the selected element. If it reads Select an element to edit its timeline, click an element first. With several elements selected, it shows all their channels, each with the element's name in front.
A channel is one horizontal row of the Timeline. A clip is a block on a channel, with a start, an end and a job to do.
Transport
The play controls sit in the tab row of the bottom panel, and appear on the Timeline tab.
| Control | What it does |
|---|---|
| Play / Pause | Starts or stops playback. Key: Space. |
| Stop | Stops and returns the playhead to the start. |
| Time box | Shows the current time as MM:SS.FF (minutes, seconds, frames). |
| Speed | Click to cycle through 1×, 2× and 5×. |
| Speaker | Mutes or unmutes the soundtrack. A spinner beside it means audio is still loading, and playback may be silent until it is ready. |
| Zoom slider | Zooms the Timeline in and out. |
The show runs at 30 frames per second. To jump to an exact time:
- Click the time box.
- Type a time:
1:27,1:27.15(1 minute, 27 seconds and 15 frames), or87(seconds). - Press Enter, or press Esc to cancel.
Ruler and playhead
The ruler across the top shows time in minutes and seconds, with labels that adapt to your zoom. It reaches 20 minutes. A shaded band runs from the start to the end of your last clip or keyframe, so the show's length is always visible. Hover over the band to read it.
The playhead is the orange vertical line. Everything in the viewport shows the moment under the playhead.
- Click the ruler to jump there, and keep the button held to scrub.
- Drag the playhead to scrub. A time label follows your cursor.
- The playhead follows your cursor exactly, so the animation plays smoothly as you drag. To land exactly on a keyframe, press K for the next one or Shift K for the previous one.
| Key | Moves the playhead |
|---|---|
| Left / Right arrow | One frame. |
| Shift + Left / Right arrow | To the previous or next whole second. |
| Home | To the start. |
| End | To the end of the last clip or keyframe. |
| K / Shift K | To the next or previous keyframe on the visible Transform channels. |
Filter channels
Three buttons above the channel names decide which channels you see, for all selected elements.
| Button | Shows |
|---|---|
| ALL | Every channel. |
| TRANSFORM | Transform and Waypoints channels. |
| COLORS | Colors channels. |
The filter is remembered. If a channel seems to be missing, check that the filter is on ALL.
Add a channel
- Select one element.
- Press the + beside the filter buttons.
- Choose a channel type.
The + is unavailable while several elements are selected. An element can hold several channels of the same type, numbered automatically, so that clips can run at the same time. New elements already come with their first channels, such as Transform 1 on most elements and Drones 1 on a Launch Pad.
| Channel | Available on | Holds |
|---|---|---|
| Transform | Show, Paths, groups and shapes | Keyframe diamonds, not clips. See Transforms and keyframes. |
| Effects | Show, Paths, groups and shapes | Motion Effect clips. See Motion effects. |
| Colors | Launch Pads and everything with slots | Solid, Gradient, Adjust, Sparks, Reveal, Fade, Pulse, Chase, Shine. See Colours and Colour effects. |
| Pyro | Launch Pads and everything with slots | Ignite clips. See Pyro and fireworks. |
| Drones | Launch Pads | Takeoff, Track, Return, Algorithm Bypass. See Drone events. |
| Waypoints | Paths | The Playback clip of an imported path. See Animated paths. |
| Audio | Audio | Audio clips. See Audio. |
The Adjust clip is the one described in Colours Manipulator.
Work with channels
Double-click a channel name to rename it. Press Enter to keep the name, or Esc to cancel. Right-click a channel name for the other options:
| Item | What it does |
|---|---|
| Rename | Same as double-clicking. |
| Disable / Enable | Turns the channel off without deleting it. |
| Lock / Unlock | Makes the channel read-only. A padlock marks it. |
| Paste event | Pastes a copied clip of the same channel type at the playhead, or in the next free gap. |
| Move up (front) / Move down (back) | Changes the channel's priority. The top channel is in front and wins. |
| Delete | Removes the channel and its clips. Channels the app manages for you have no Delete. |
Add a clip
- Right-click an empty part of a channel, at the time you want.
- Choose Add and the clip type, such as Add Solid.
The clip starts at the nearest quarter second and lasts 4 seconds. Transform channels hold keyframes, so they have no clip menu. Click it to open its settings below the element's settings in the Properties panel.
Clips show their colour, name and length. A Solid clip takes the colour it paints, and a Gradient clip shows its gradient. On a very short clip the length or the name is hidden to save room.
Move and resize clips
- Move: drag the body of the clip left or right.
- Move to another channel: drag the clip up or down onto another channel of the same type on the same element. The target channel highlights. Right-click the clip and use Move to for the same result.
- Resize: drag the left or right edge.
A label at your cursor shows the exact time. Some clips cannot be resized: the Playback clip of a Path has a fixed length, and an Audio clip cannot be longer than its file.
Clips of the same kind on a channel never overlap. A dragged clip stops against its neighbour. To run two clips at once, put them on separate channels.
Snapping
While you drag a clip, a clip edge or a keyframe, it snaps to these targets when it comes within 8 pixels of one:
- The start or end of another clip.
- A keyframe.
- The playhead.
- Time zero.
Away from those targets, clips snap to a grid of a quarter second. Keyframes always land on a whole frame.
Clip menu
Right-click a clip for these options:
| Item | What it does |
|---|---|
| Disable / Enable | Turns the clip off without deleting it. |
| Lock / Unlock | Stops the clip from moving or resizing. |
| Move to | Sends the clip to another channel of the same type. Listed when one exists. |
| Copy | Copies the clip. |
| Delete | Removes the clip. Clips the app manages for you have no Delete. |
To paste a clip, right-click an empty part of a channel of the same type and choose Paste event. A colour clip pasted this way covers all the slots of the target element.
The keyboard works too: Delete removes the selected clips, Cmd C / Ctrl C copies a clip, and Cmd V / Ctrl V pastes it at the playhead. See Keyboard shortcuts.
You can drag a Formation group from the Hierarchy onto a Track clip to choose where the drones fly.
Select several clips
| Action | Result |
|---|---|
| Click a clip | Selects that clip only. |
| Shift + click | Adds or removes a clip. |
| Drag on an empty part of the channels | Draws a box and selects the clips and keyframes it touches. |
| Shift + drag | Draws a box that adds to the selection, even when it starts over a clip. |
| Click an empty part of the channels | Clears the clip and keyframe selection. |
Dragging a selected clip moves the whole group by the same amount. Dragging the edge of a selected clip resizes all of them on that side. The group stops together if any clip runs out of room, and the label shows how far the group shifted. A group always stays on its own channels.
Effects row
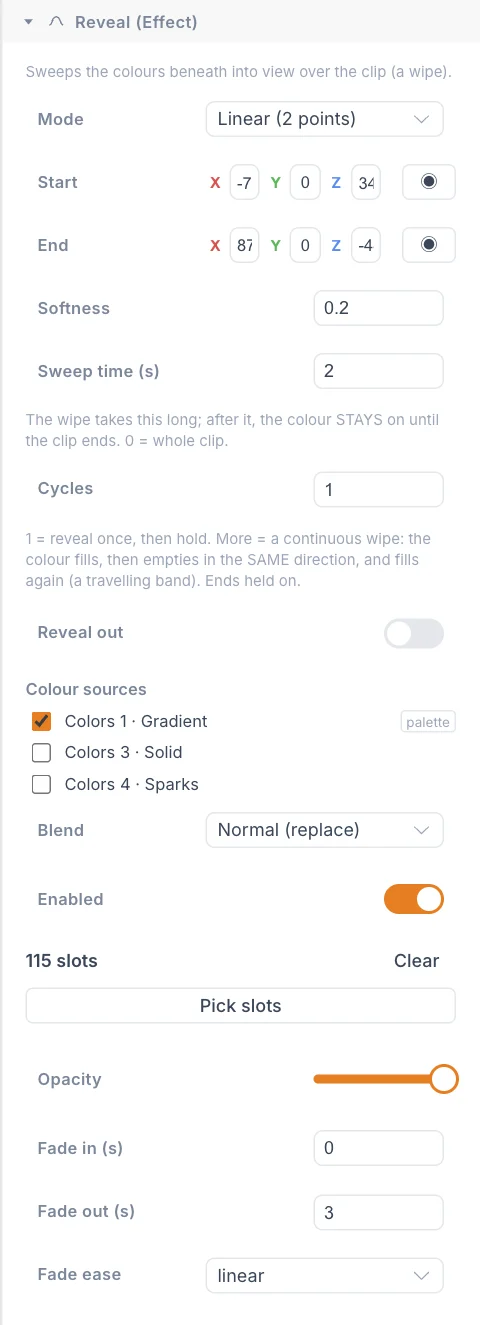
Colour effects change colours that already exist, so they live in a row of their own. In a Colors channel, Reveal, Fade, Pulse, Chase and Shine clips sit in a thin Effects row above the colour row. The row appears as soon as the channel holds an effect, marked Effects in the channel name.
- Effects may overlap the colour clips below them, because they act on those colours.
- Effects do not overlap other effects on the same channel, and colour clips do not overlap other colour clips.
- When an effect is linked to a colour clip, both show a small link badge. Selecting one highlights the other.
This row is different from an Effects channel, which holds motion effects. See Colour effects.
Keyframe diamonds
Transform channels show one diamond for each time that holds a keyframe.
| Action | Result |
|---|---|
| Click a diamond | Selects it. The playhead stays where it is. |
| Drag a diamond | Retimes it. If it is part of a selection, the whole selection moves. |
| Shift + click | Adds or removes a diamond. |
| Drag a box | Selects diamonds, as with clips. |
| Right-click | Offers Move playhead here and Delete keyframe. |
Delete keyframe removes the Translate, Rotate and Scale keyframes at that time. To add keyframes, use the Properties panel.
Zoom and scroll
- Drag the zoom slider in the tab row.
- Or hold Cmd (Mac) or Ctrl (Windows) and scroll over the ruler or channels. Pinching on a trackpad does the same.
Zooming keeps the playhead in the middle, so move the playhead to the part you want to see first. Fully zoomed out, the Timeline shows about 20 minutes on a wide screen. Your zoom and scroll position are remembered. Without the key, scrolling moves the view across the Timeline and its channels.
During bake playback
The Timeline becomes read-only and lists every channel in the show that holds a clip, named with its element. The filter and playhead keep working, but clips cannot be moved, and the + is gone. See Baking and playback.
Tips
- Use Shift + Left / Right arrow to step through the show one second at a time.
- Move the playhead to where a clip should start before you drag it. The clip snaps to the playhead.
- Lock channels that you have finished, so that a stray drag cannot change them.
Next
Adjust the look of the view in Viewport and app settings.